
Turf Wars: Artificial Grass
You may have been dreaming of the days when you can spend your summer days enjoying the warm weather in your garden, without having to worry about getting time to cut the grass. Well Flooring Direct is here to help with our range of maintenance-free artificial grass. Artificial grass has came on leap and bounds since it was first marketed in the sports world as astro-turf – laid on sports pitches as an alternative to grass which provided a grass-like texture and appearance. However, this was barely suitable for our gardens, and didn’t appear very convincing as a substitute for our freshly cut lawns.
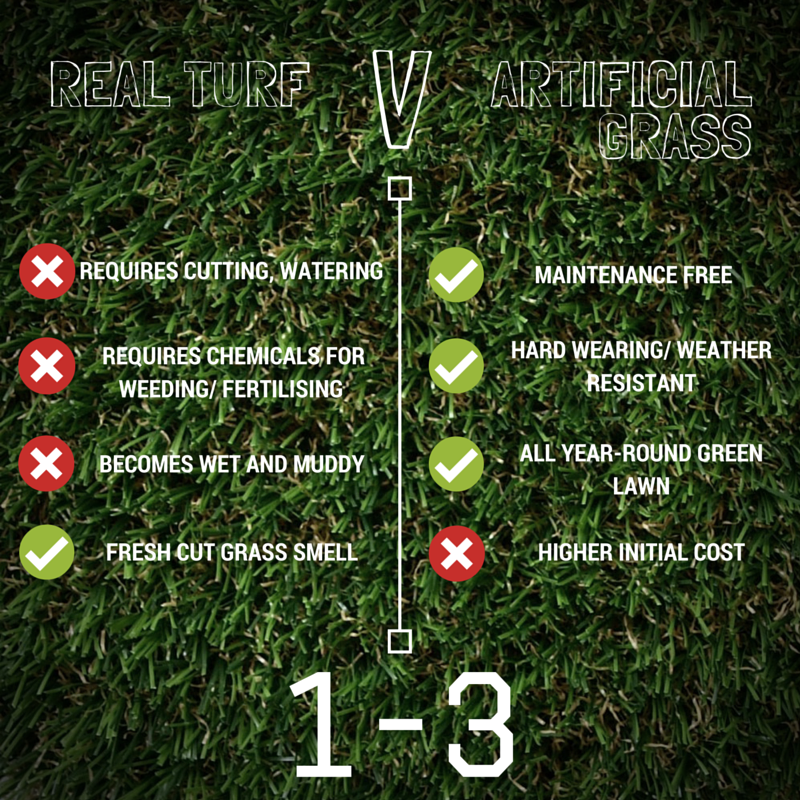
With the new generation of artificial grass, the realism has improved dramatically, down to each individual blade, to create the perfect real-grass look. However, since artificial grass is still relatively new for the home and garden market, not many have experience of laying it; and perhaps you yourself are debating switching to maintenance-free lawn. Flooring Direct will take you through the essential steps in laying artificial grass to achieve professional results.
Preparation
Step 1: Remove any existing turf/ grass from the area where you’d like to lay artificial grass. Don’t remove too much – around 40mm will be enough. Help make you job easier by using a turf cutter.
Step 2: Add a 35mm layer of sharp builders sance to the area to act as a base.
Step 3: Level the surface and compact the sand using a plank and heavy hammer to ensure the base is firm. If you want to have gentle slopes for a natural effect, it’s fine to do so.
Step 4: Add a protective membrane layer to the area. If you require to overlap the membrane, make sure you create an overlap of around 300mm. Don’t go all the way to the edge of the grass, as you want to leave the membrane hidden – so stop around 50mm short.
Laying The Artificial Grass
Step 1: Roll out the artificial grass across the area. The trick here is to stagger the edges so each roll doesn’t end at the same point. If you’ve ever laid laminate flooring, it’s the same principle as that. Trim the edges with a stanley knife.
Step 2: When it comes to joining each roll of artificial grass, make sure the grass blades are running in the same direction. Also, you must ensure all joints are butted together with no blades being trapped in between the joints.
Fixing Your Artificial Grass
Step 1: Once the entire area has been covered with artificial grass, fix each roll together using Flooring Direct’s Astrobond Adhesive along each joint. Make sure you keep the adhesive well clear of the fibres!
Step 2: Help hide the joint further by ruffling up the grass fibres between each joint.
Step 3: Once all the joints have been glued together, you should fix the edges down using ground pins. Space each pin around 200mm apart and ruffle up the fibres to hide the pins.
Step 4: Provide a finishing touch to your newly laid artificial grass by running a hard brush over its surface to ruffle up the fibres – create an ultra-realistic lawn.
Comments are closed here.